Adding photos to a WordPress Site.


Step by Step Guide to Adding photos to a WordPress Site.
- Enter Domain name then/wp-admin in the URL box in your browser for the WordPress site
- Enter your username and password.
- Go to the “dashboard” and select either posts or pages.
- Hovering over the article title will give you an additional menu that contains
- Edit, Quick edit , Trash and View, click “edit” and then click and “media”.
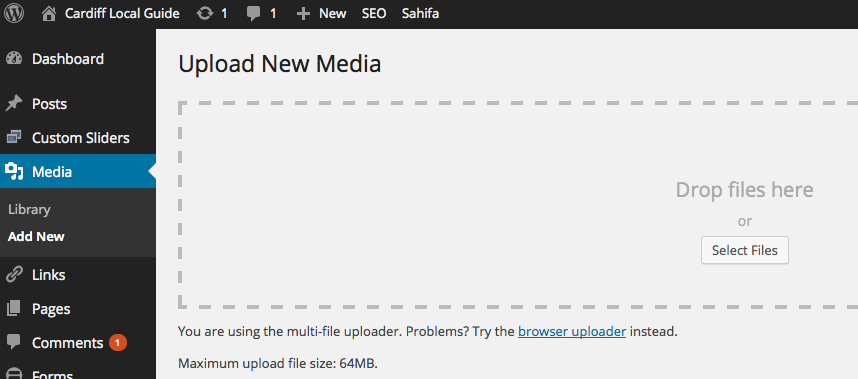
- To add photos click “upload files” or you can drag pictures and drop them.
- You can do more than one at a time. The picture will appear in the Library.
-
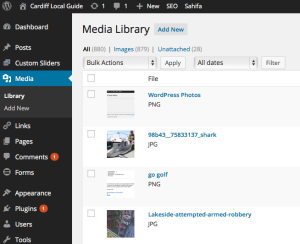
Adding photos Select the photos you want, it will appear on the media library time with a tick on the right hand side.

- Enter something about the photos in the ALT text box, this is important for your SEO
- Click the cross in the top right hand corner of the library this will take you back to the post.
- Check you are under the visual tab and place the cursor at the beginning of the sentence where you want to insert the photos.
- Now go back to media and click the photos you want to insert.
- On the right hand side you have attachment display settings.
- Choose alignment, it can be left, centre, right or none.
- Then select size from the menu and finally click insert into post.
- Check to see you are happy with the results.
- This is the important bit ! On the right hand side coloured blue is an ”update” button or “save draft/publish” if you do not click either “update or save draft/publish” you will lose any changes
By Paul Taylor